@nativescript/payments
In-App Purchase and Subscriptions for NativeScript iOS and Android.
Installation
ns plugin add @nativescript/payments
What does this plugin do?
This allows your app to use in app purchases and subscriptions using Apple AppStore and Google PlayStore purchasing systems.
iOS
| Example Item List | Purchase Confirmation | Purchase Done | Purchase Successful |
|---|---|---|---|
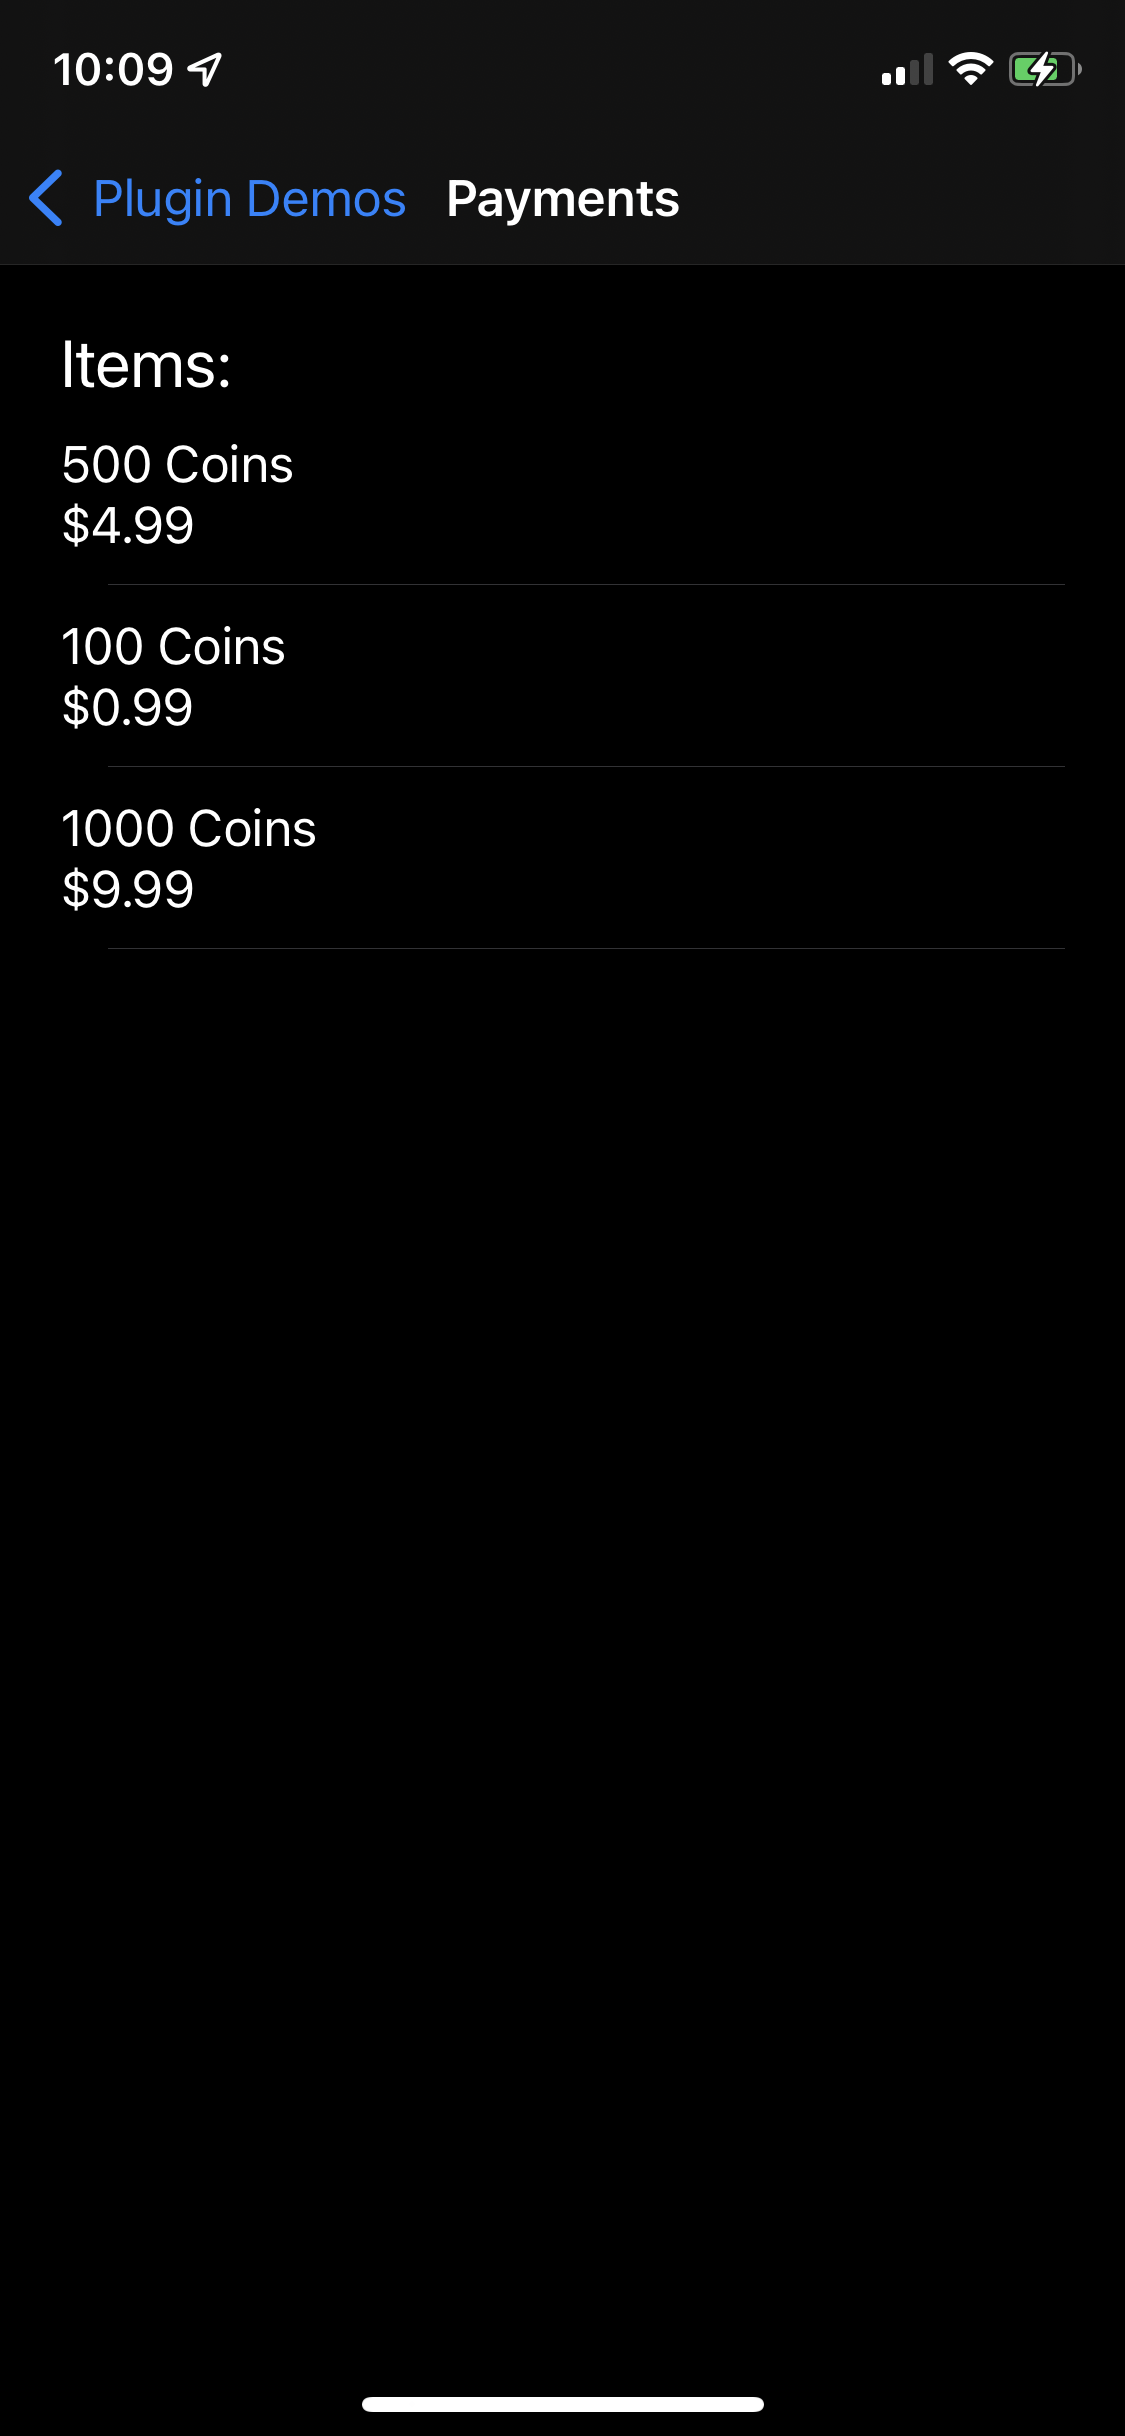 | 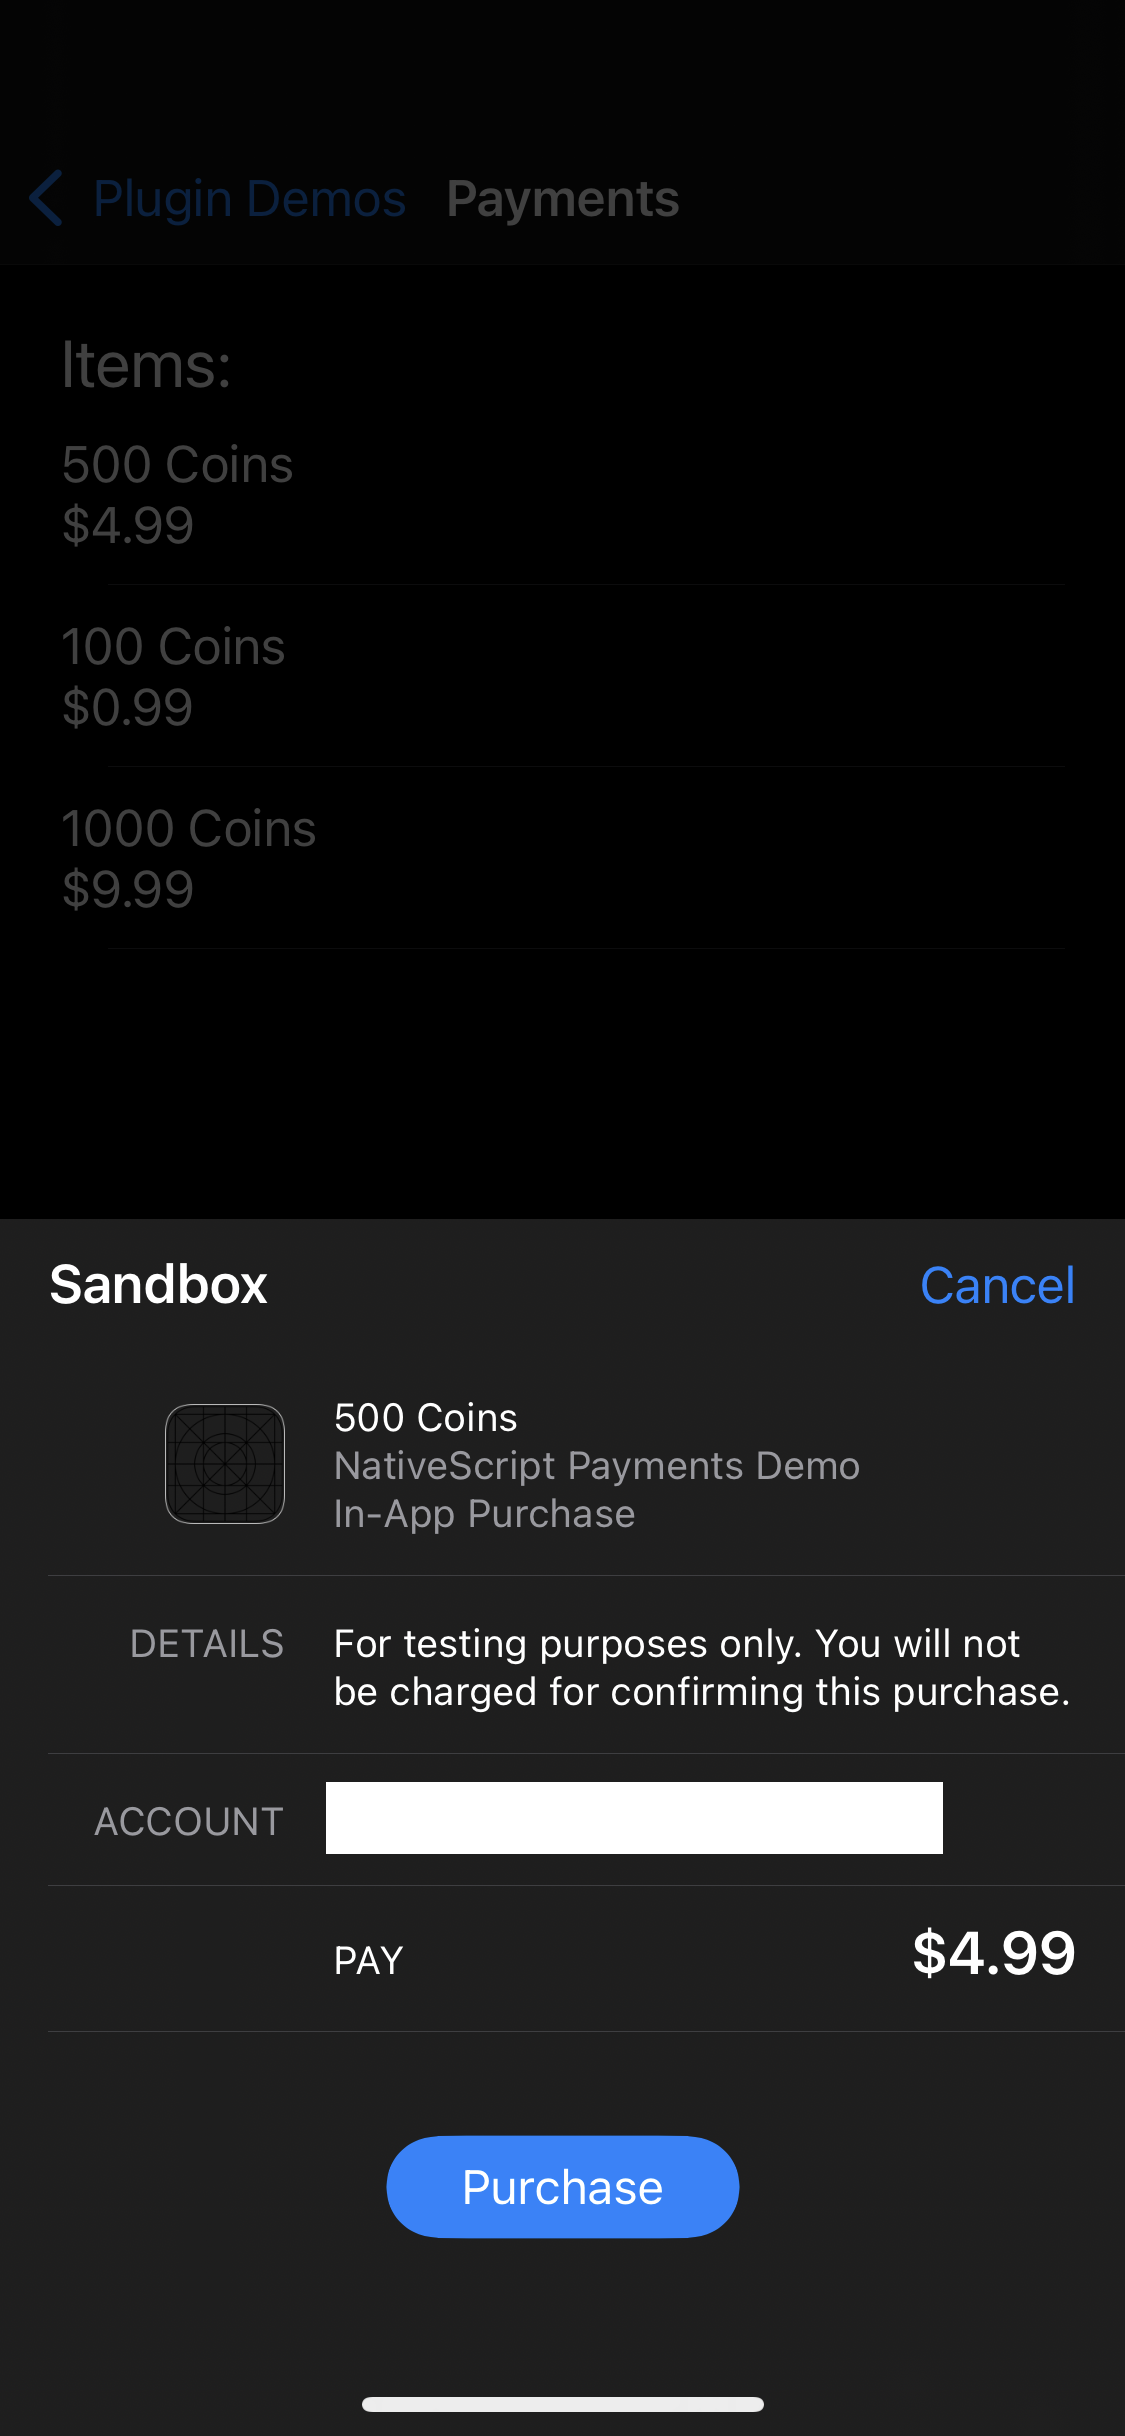 | 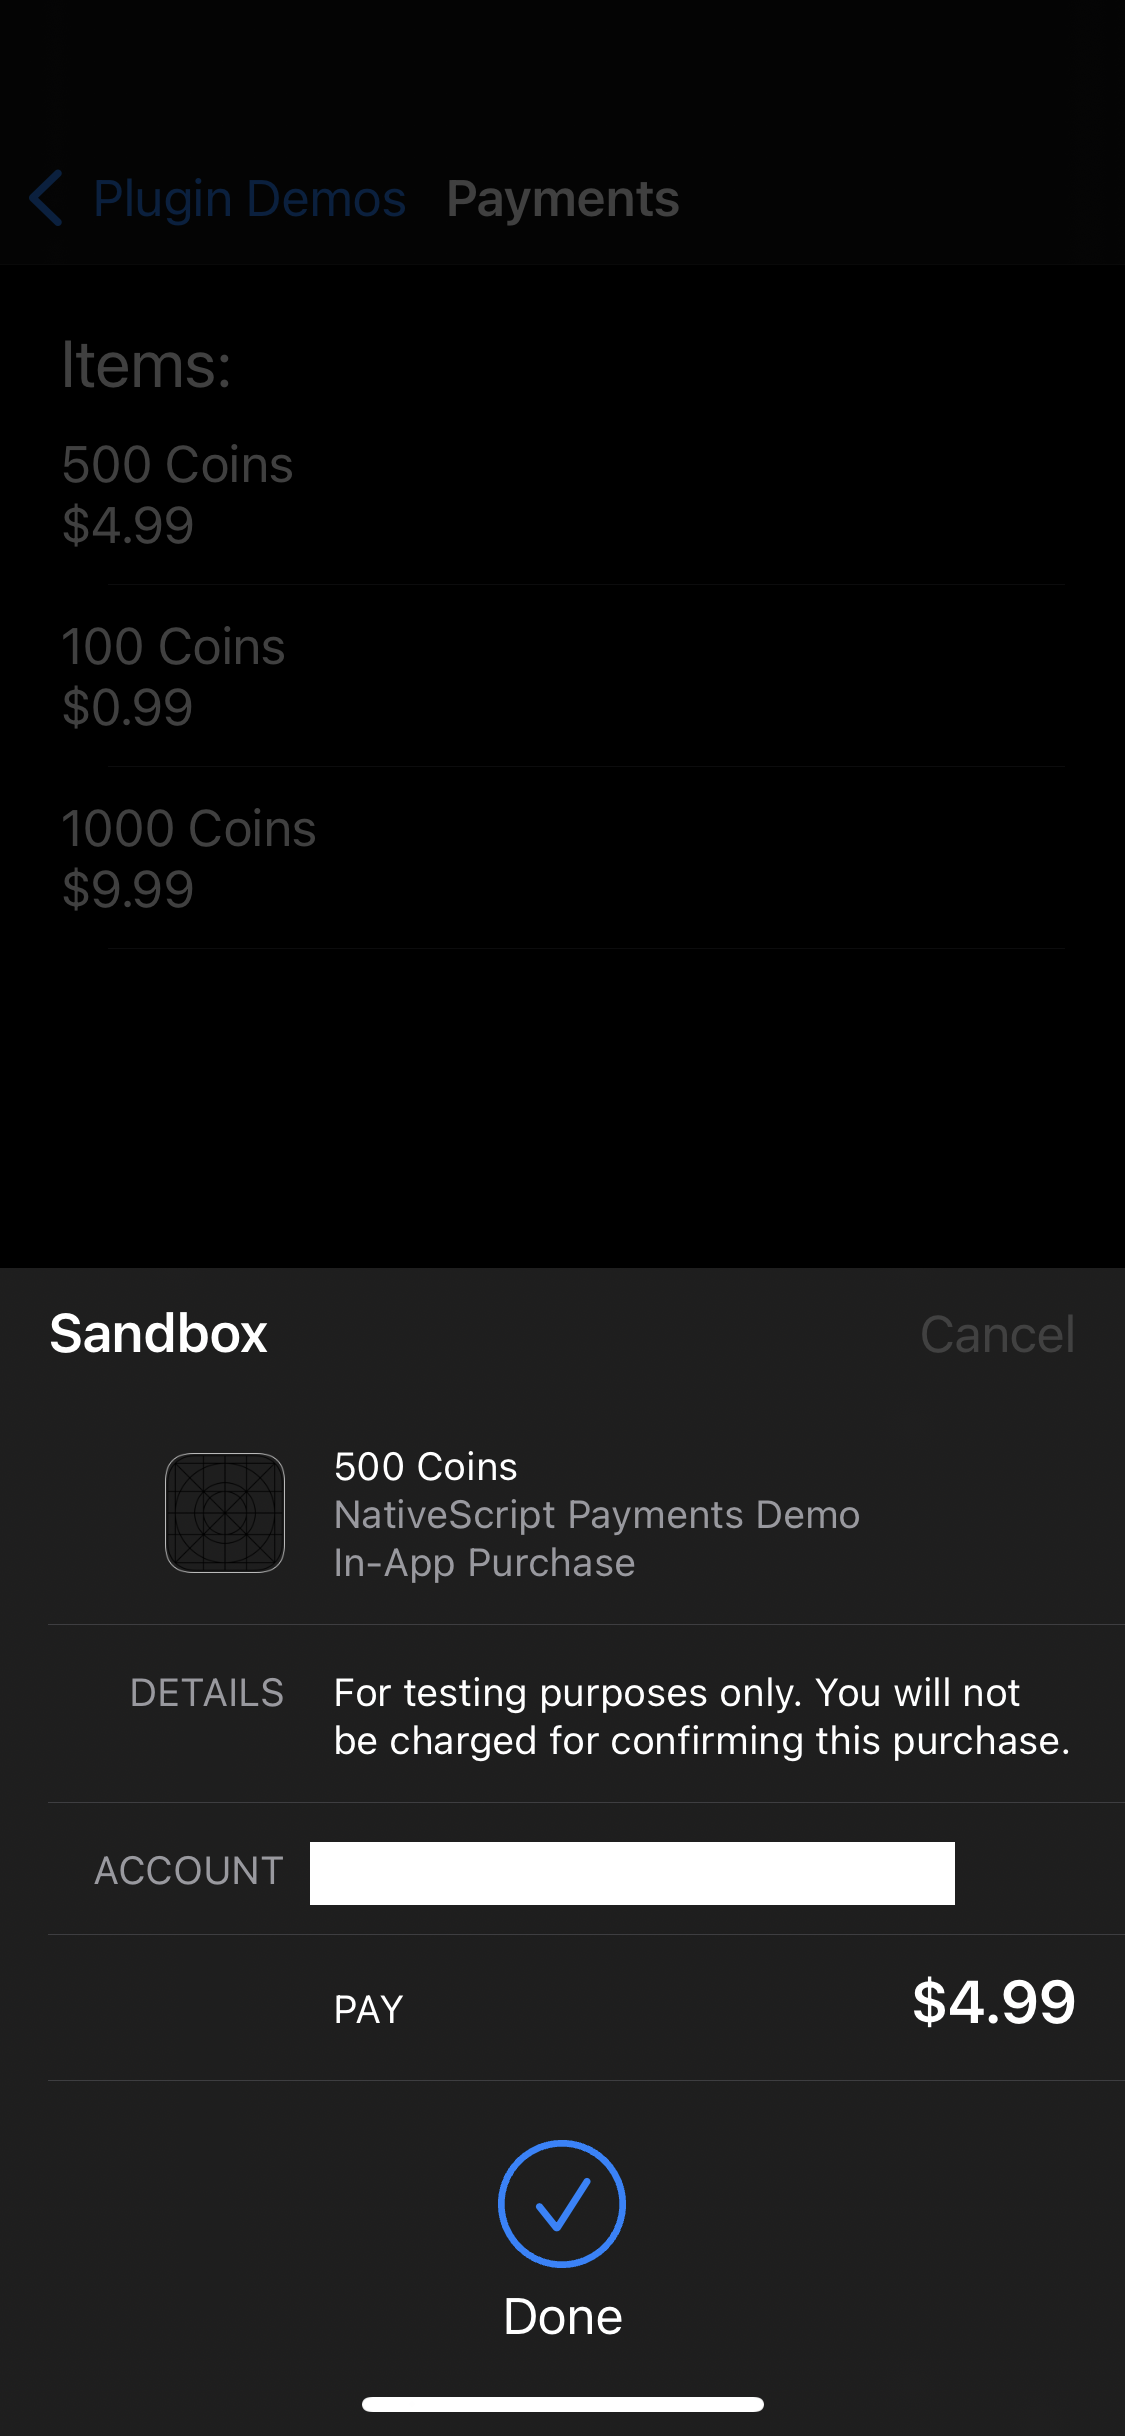 | 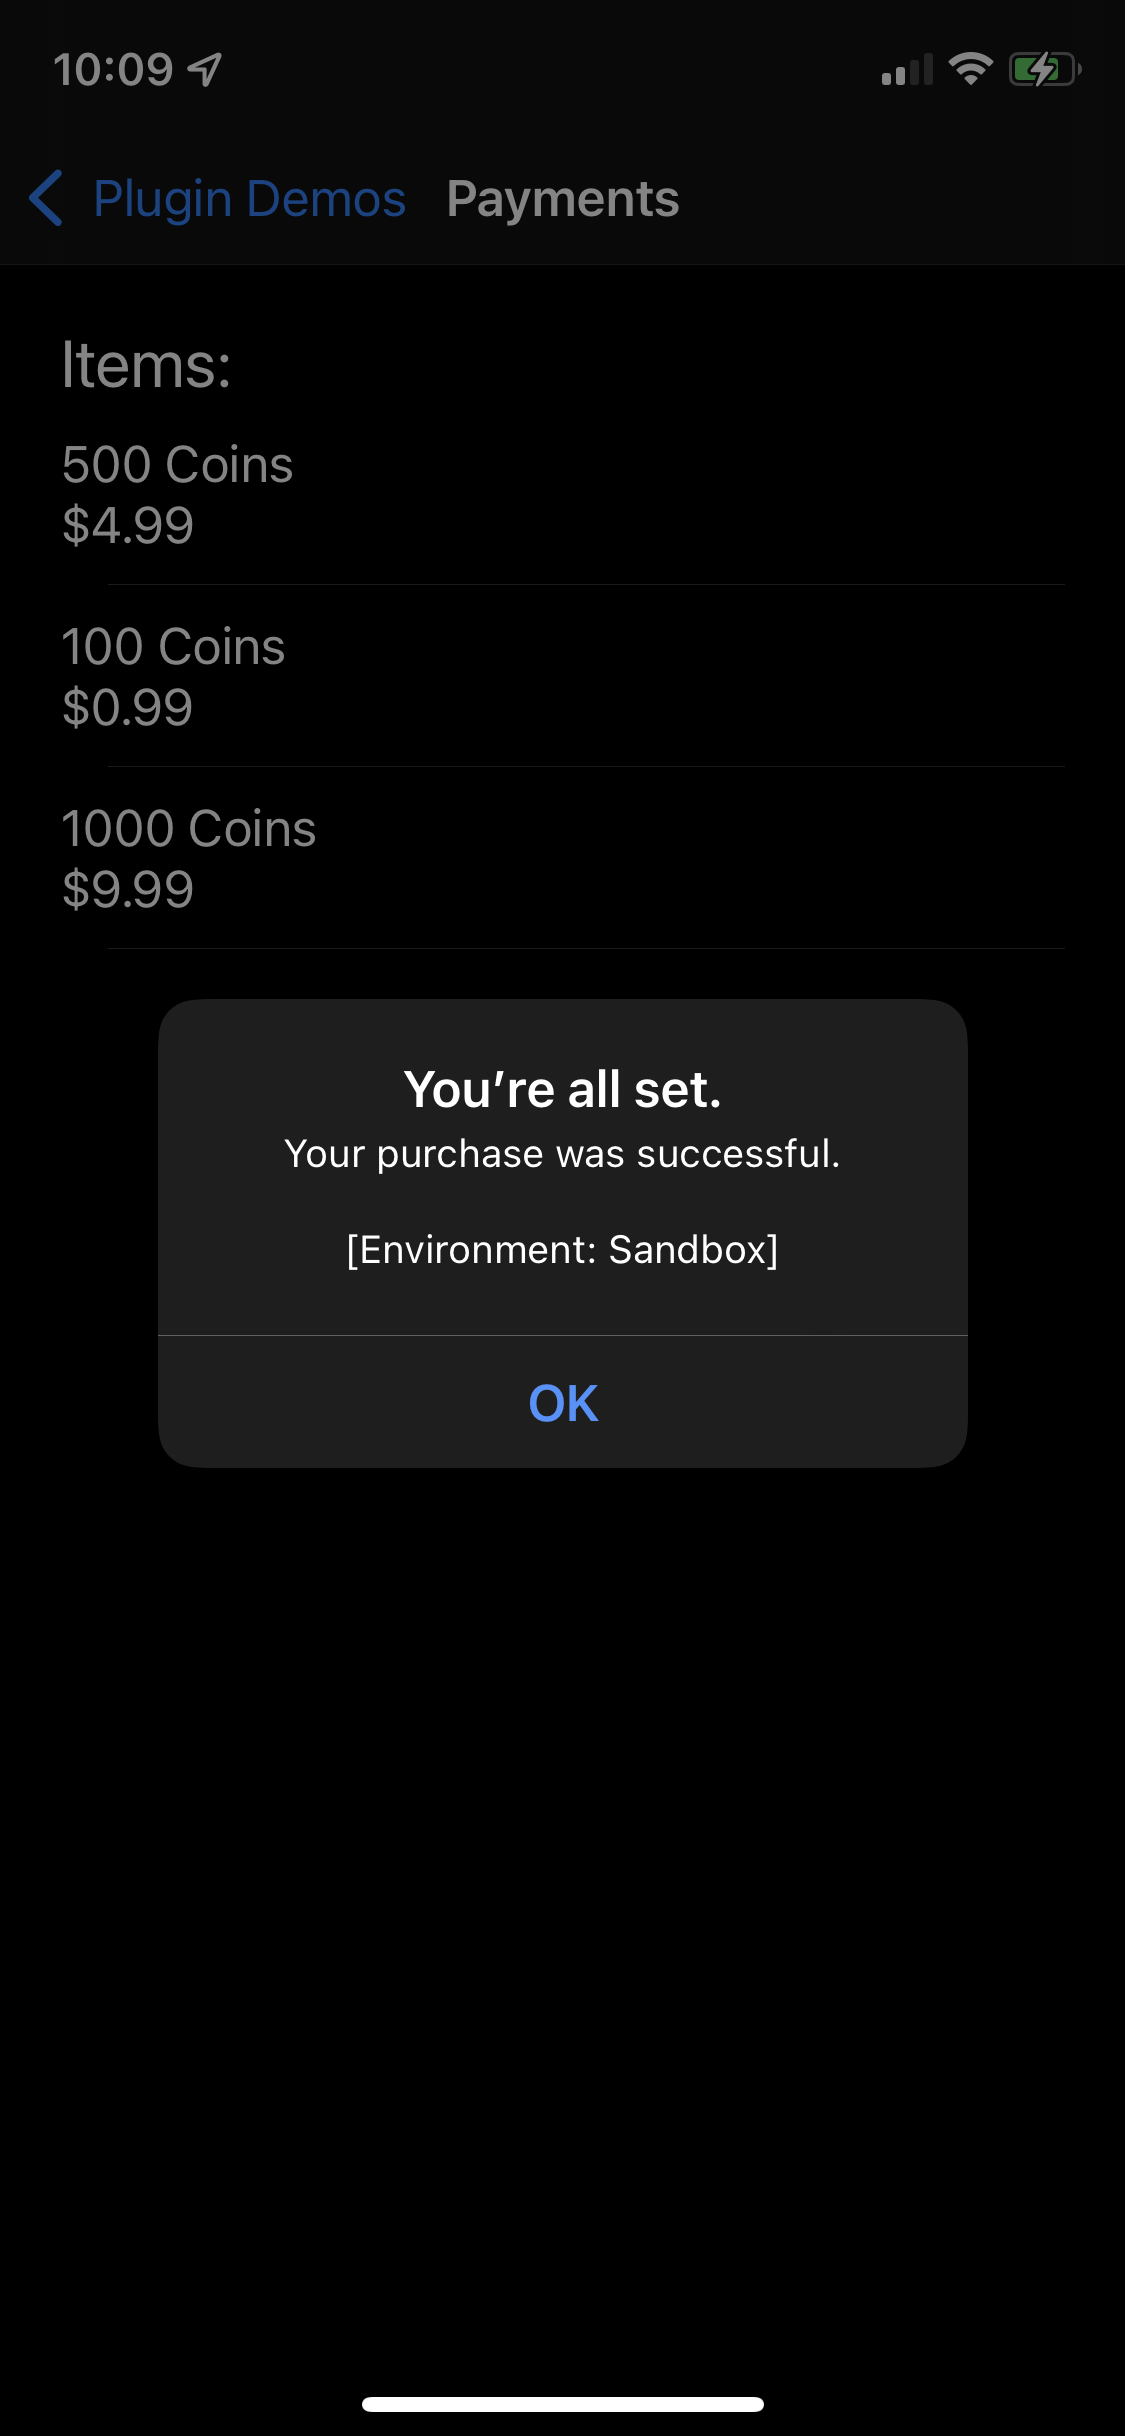 |
Android
| Example Item List | Purchase Confirmation | Purchase Successful |
|---|---|---|
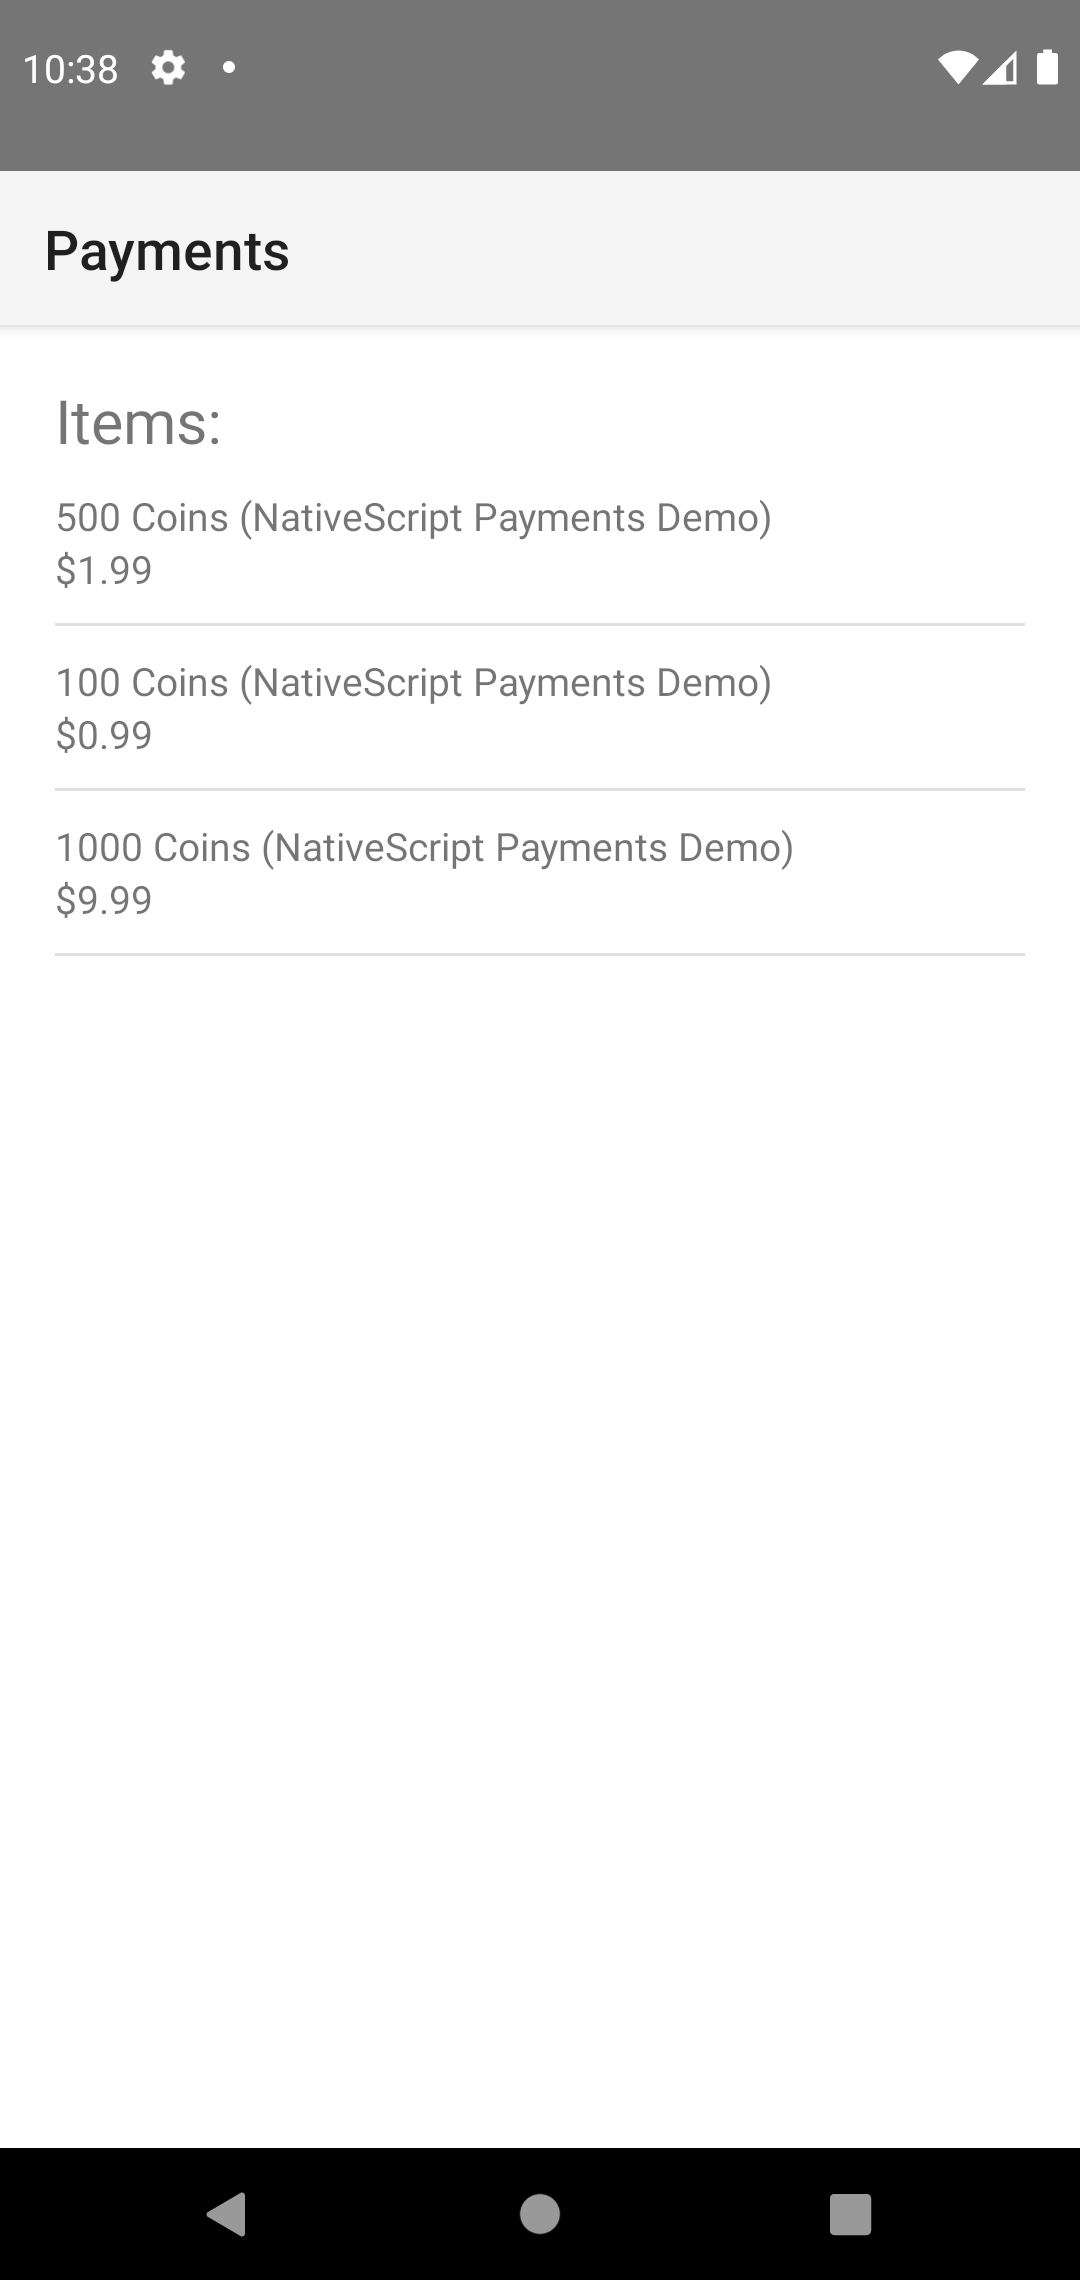 | 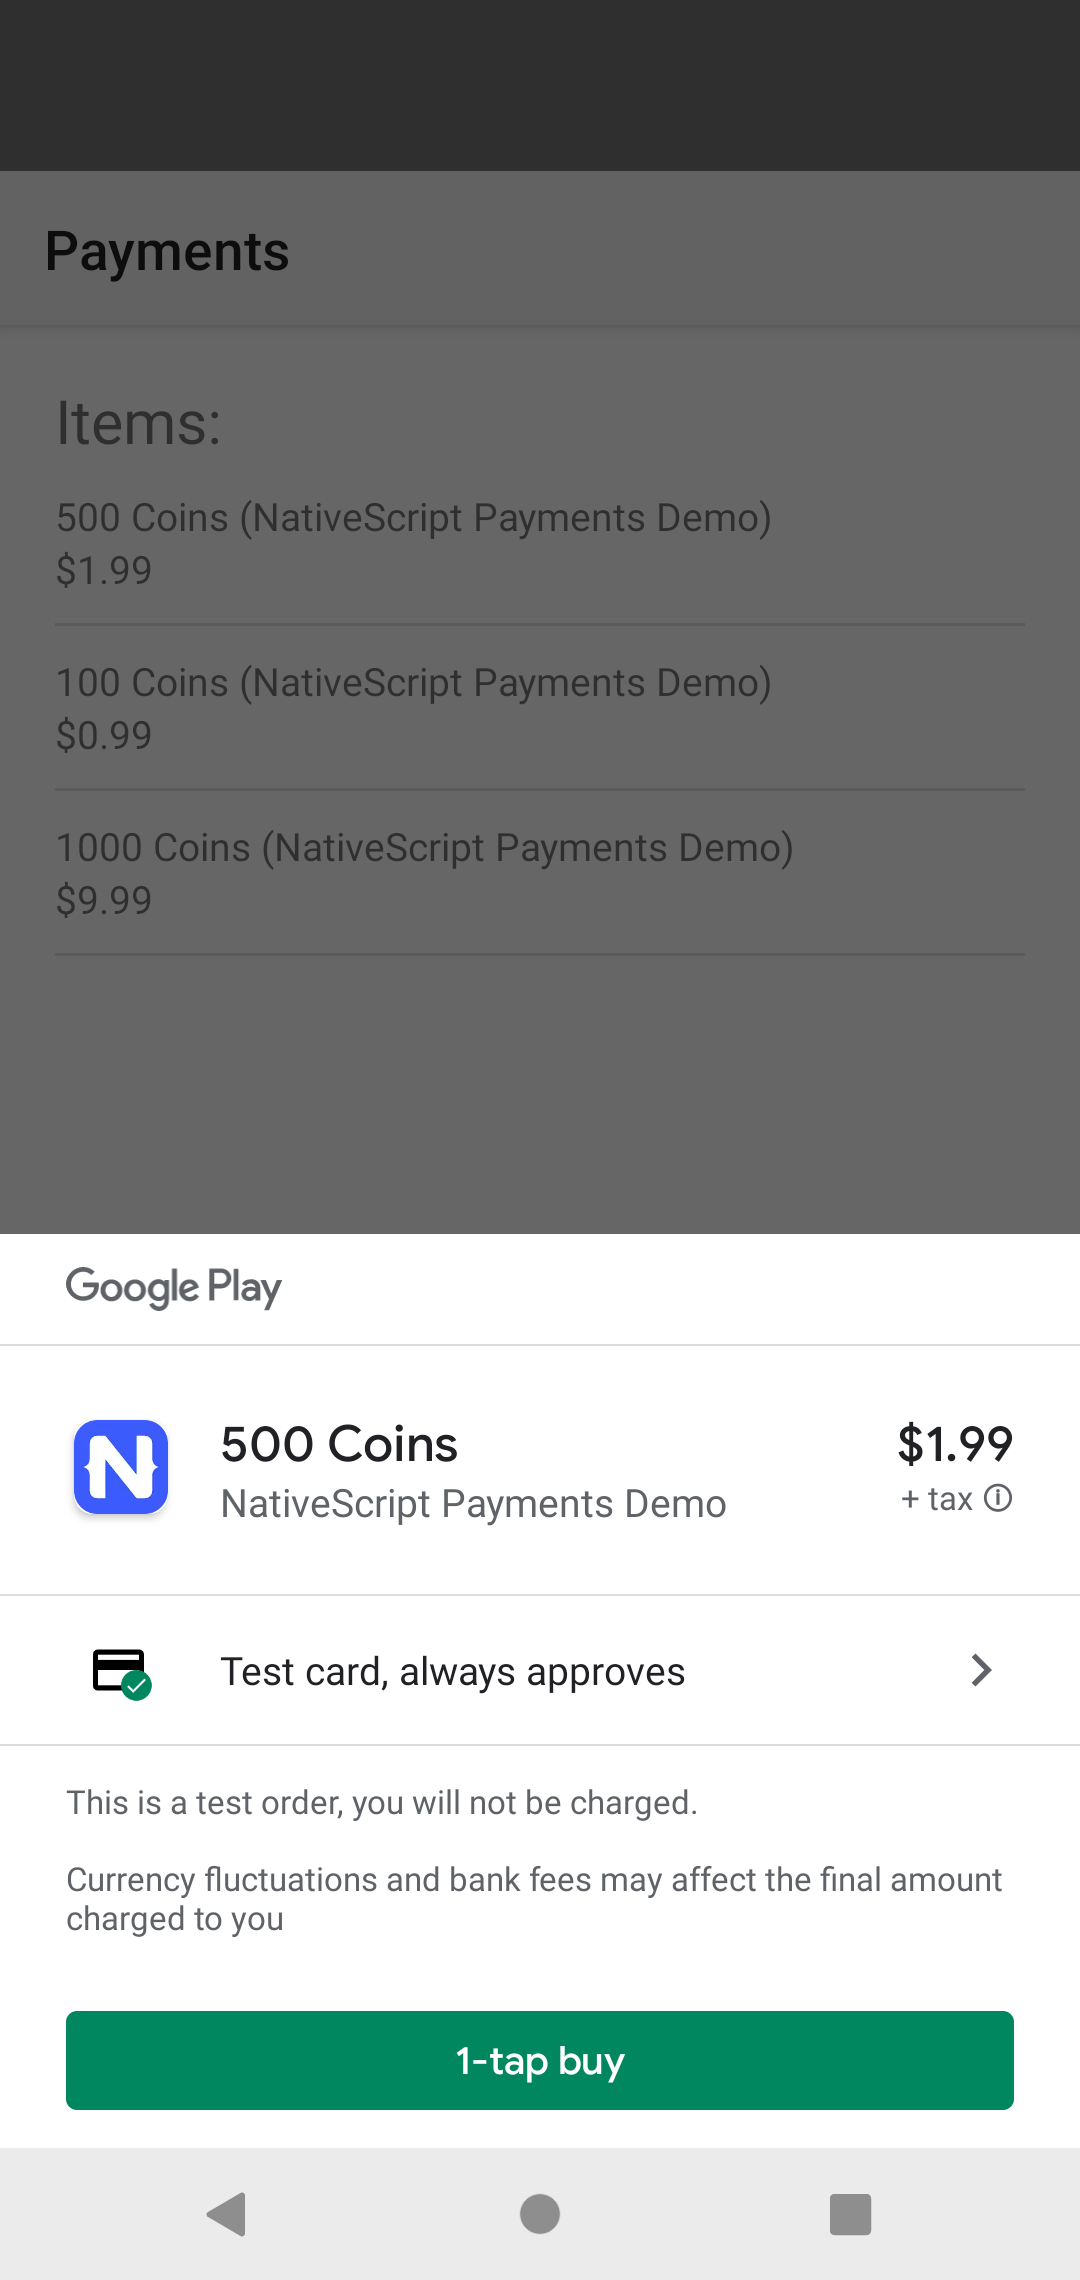 | 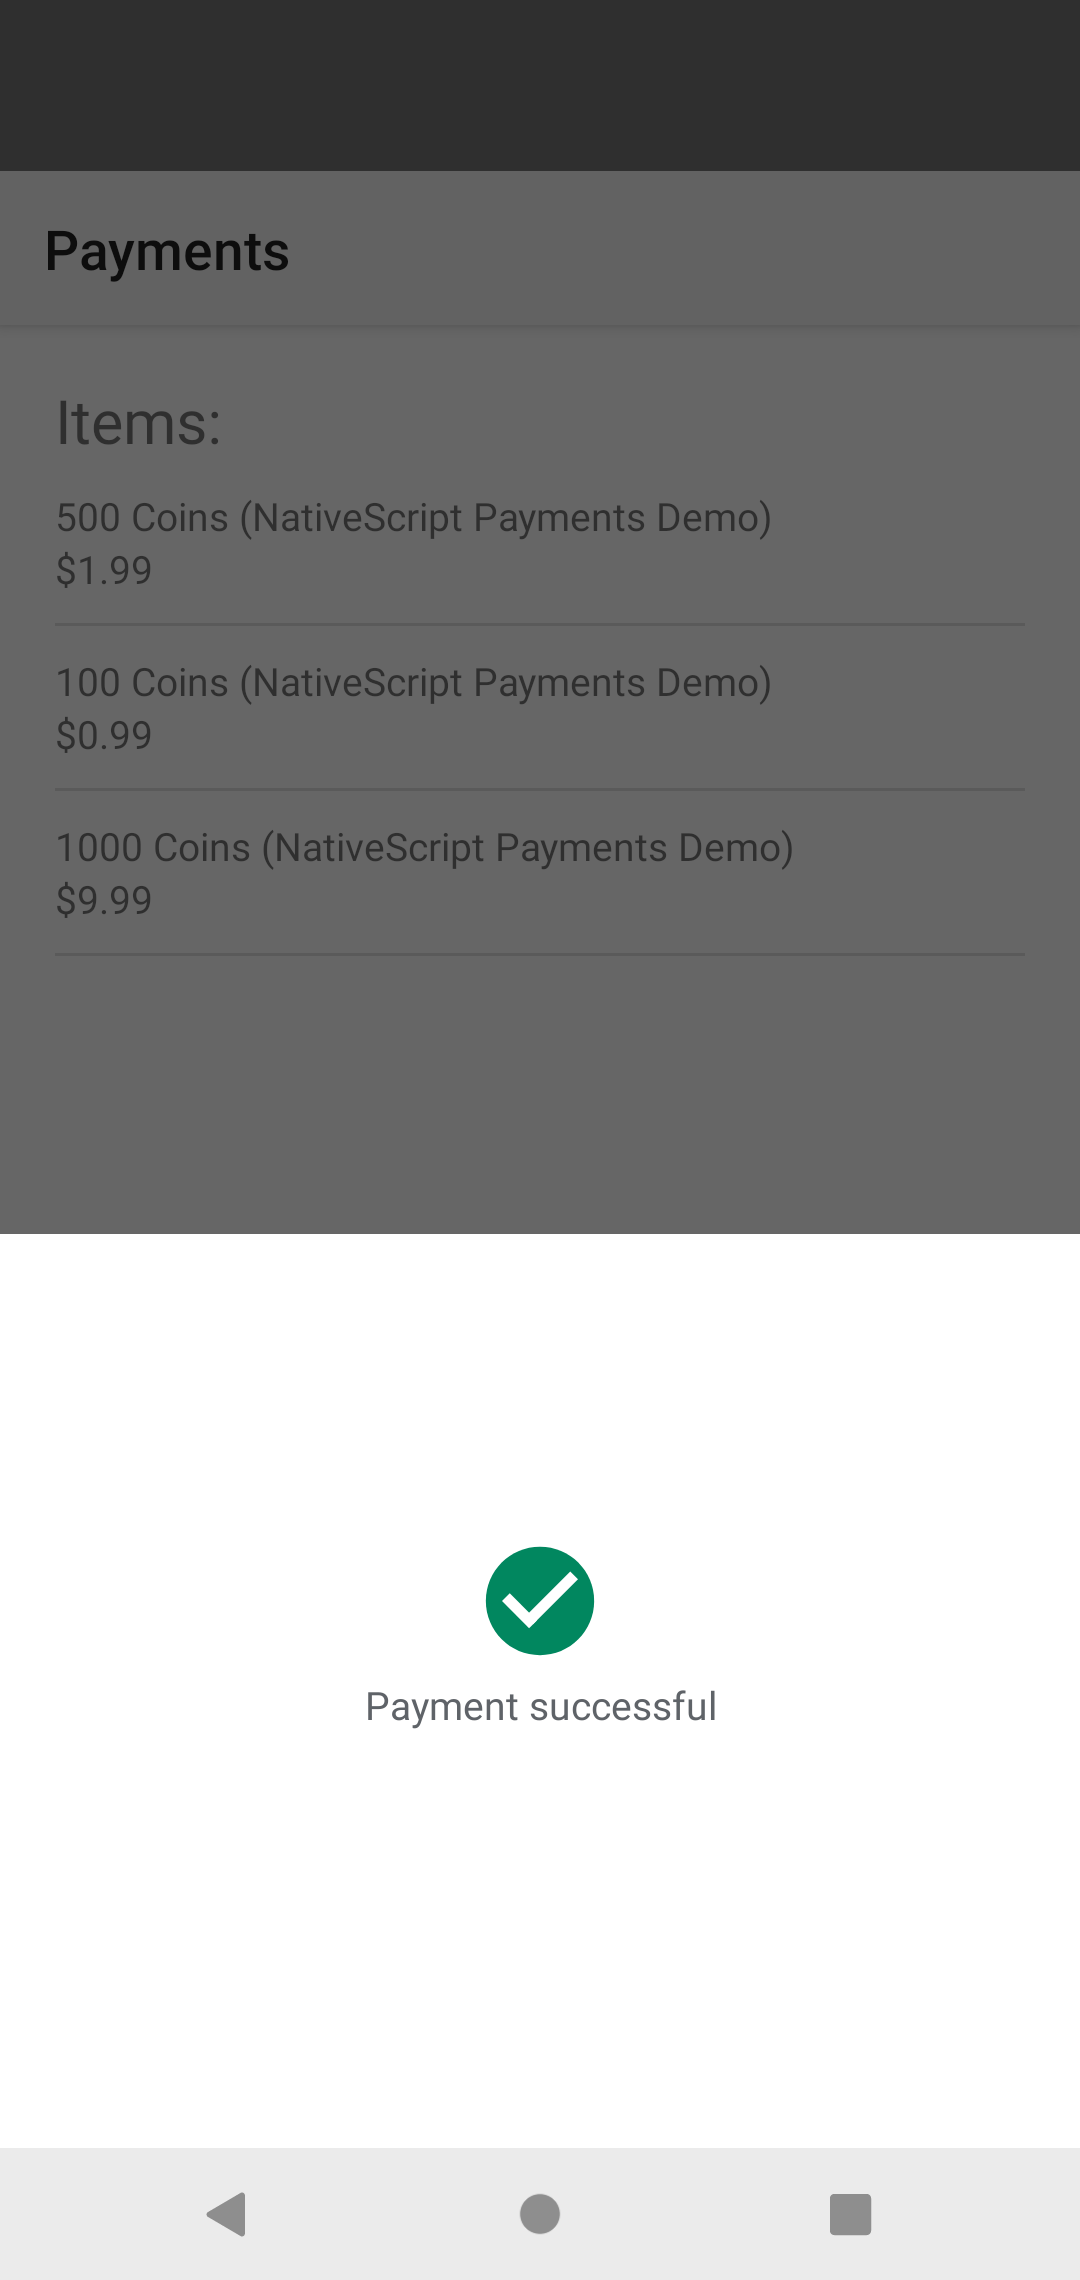 |
Prerequisites
Before you get started, review the following prerequisites:
Apple (iOS)
To offer in app purchases for your iOS app. You will need to create items for the app on AppStoreConnect.Apple.Com.
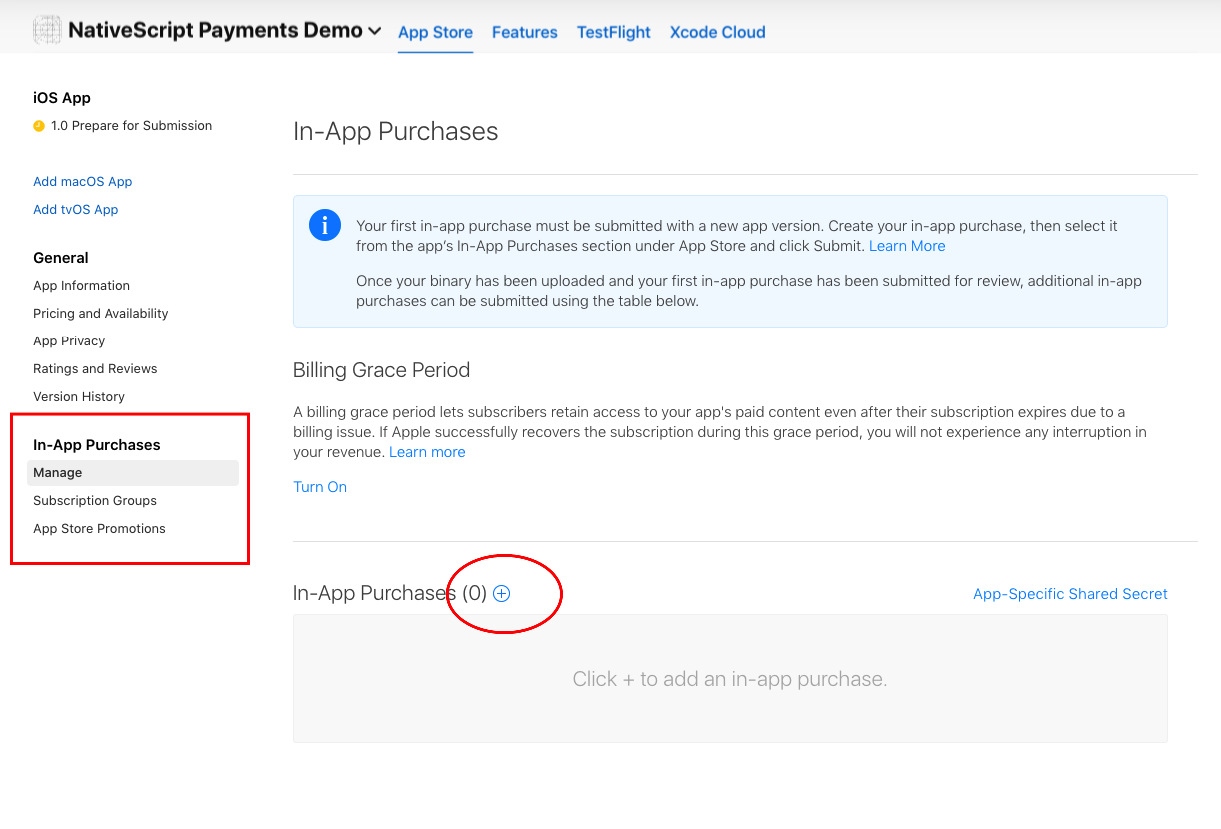
On the form to create the in app purchase item, the Product ID is the value you will use to fetch your items for the user to purchase in your app. 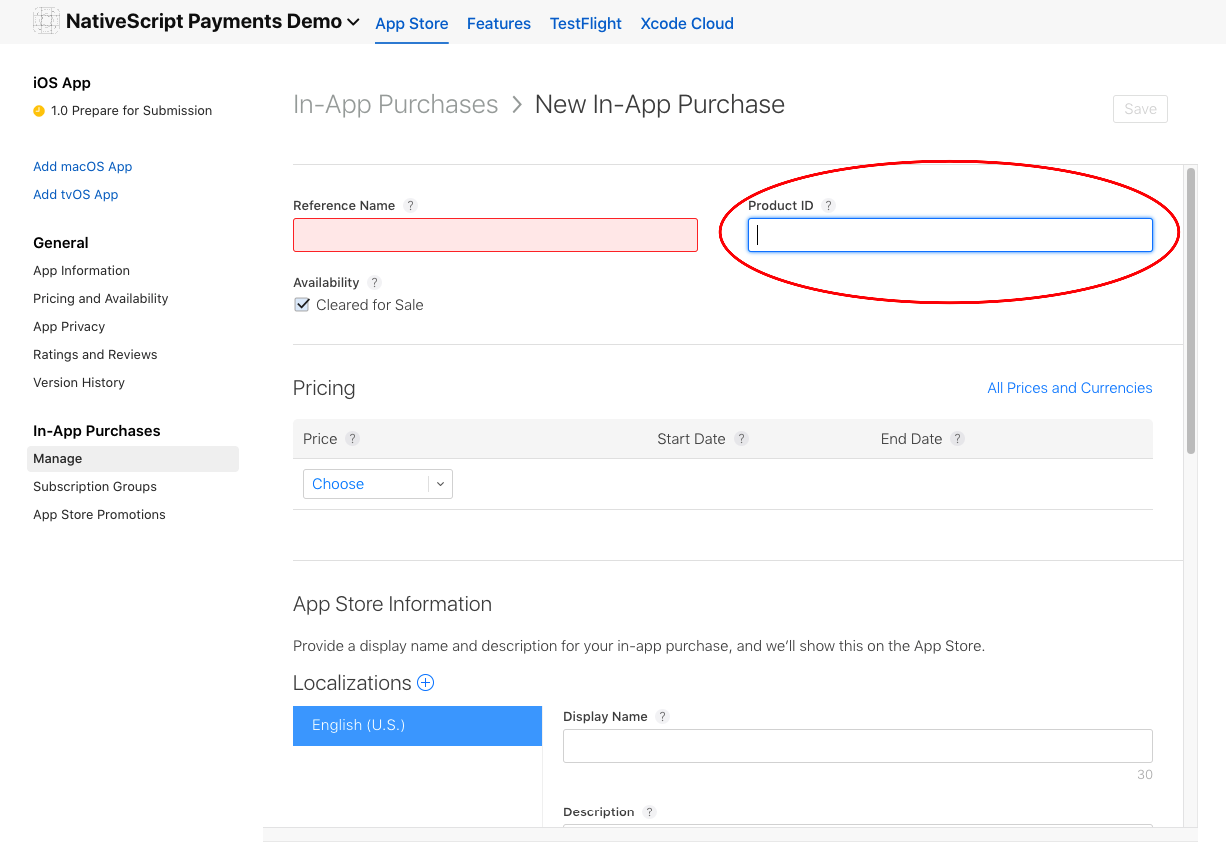
Once you complete an item you will see a list of all items for the app listed on the AppStore Connect. 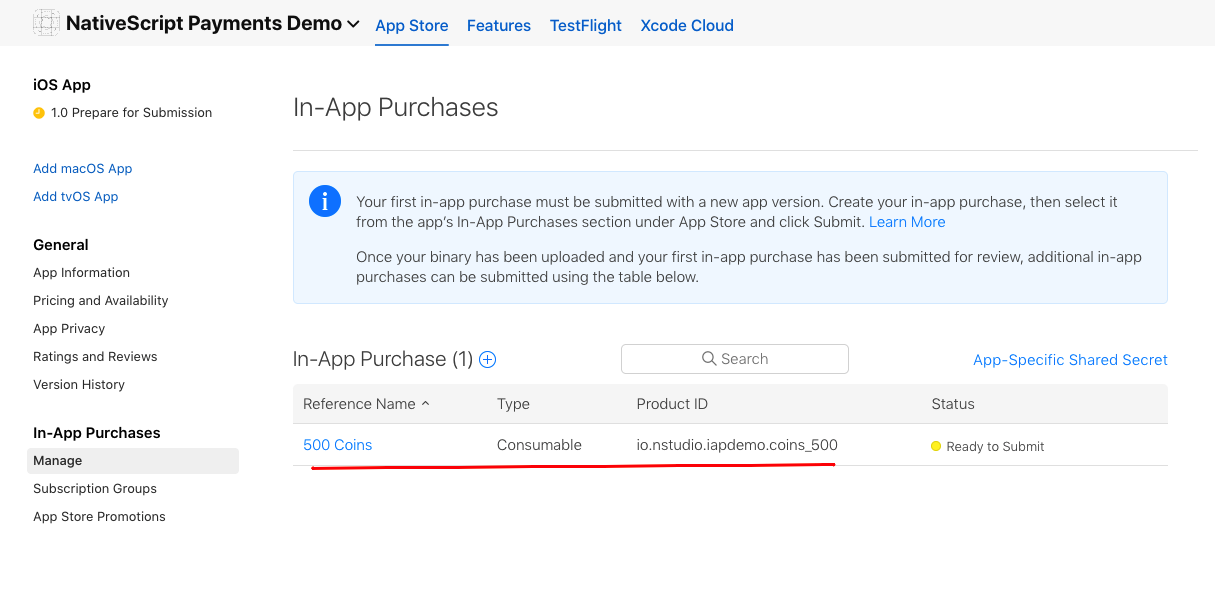
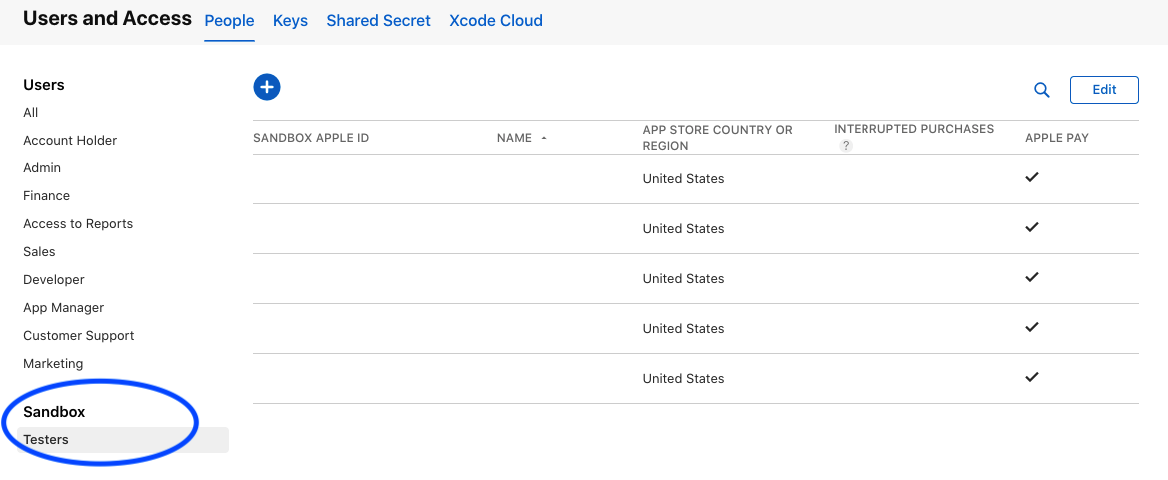
To test iOS purchases fully, you will need a real iOS device. You will also need a test user in the sandbox environment on your appstore account.
Google (Android)
To offer in app purchases for your Android app you will need to upload at least ONE apk/aab to the Google Play Console.
Once you have uploaded one aab to the console for your app you can create in app products on the console. 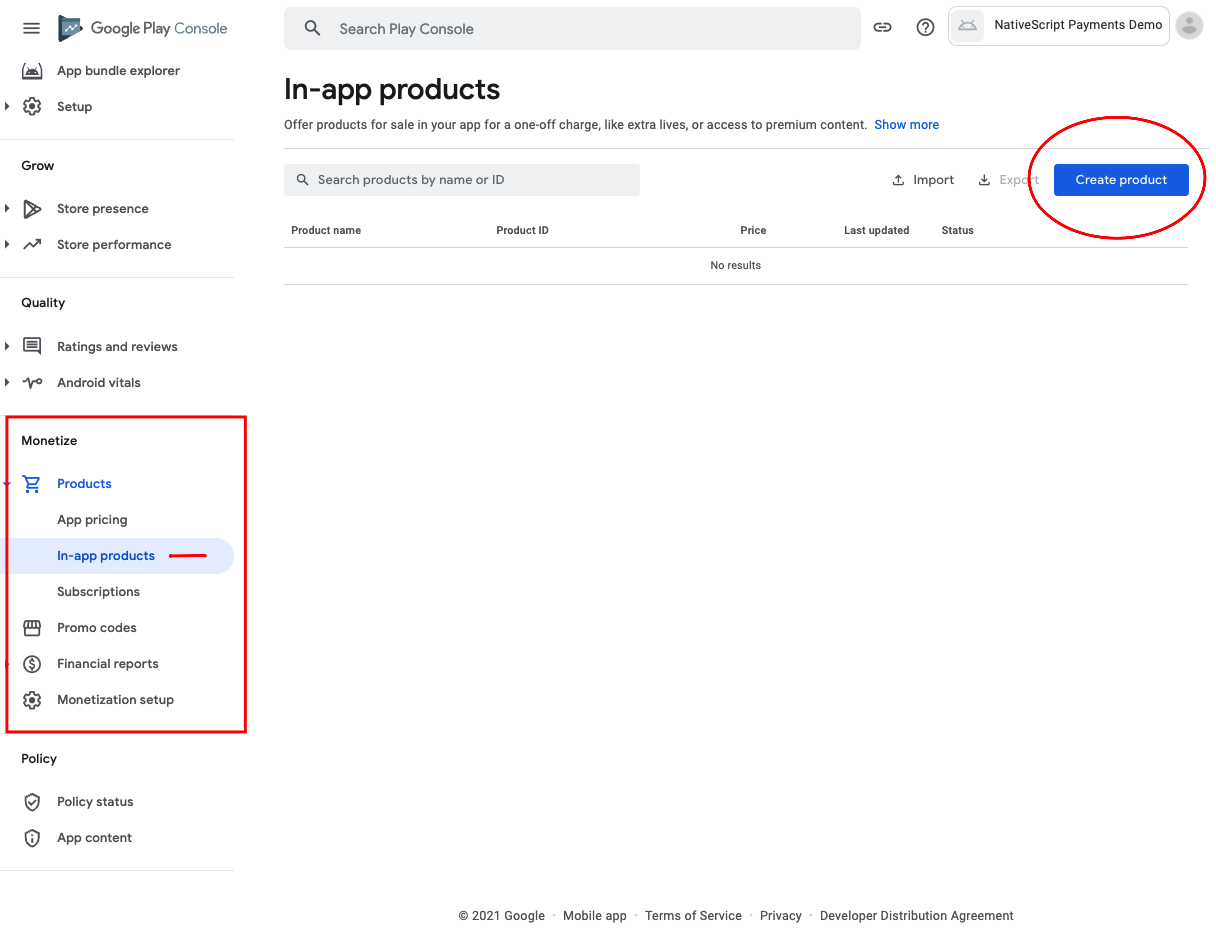
On the form to create your product, the Product ID is the value you will use to fetch your products for the user to purchase.
Important Tip for Google Products
Google does not like numeric values in the ID field. It seems to ignore the Sku when querying for your items and only returns one item instead of multiple values if the IDs contain numeric values.
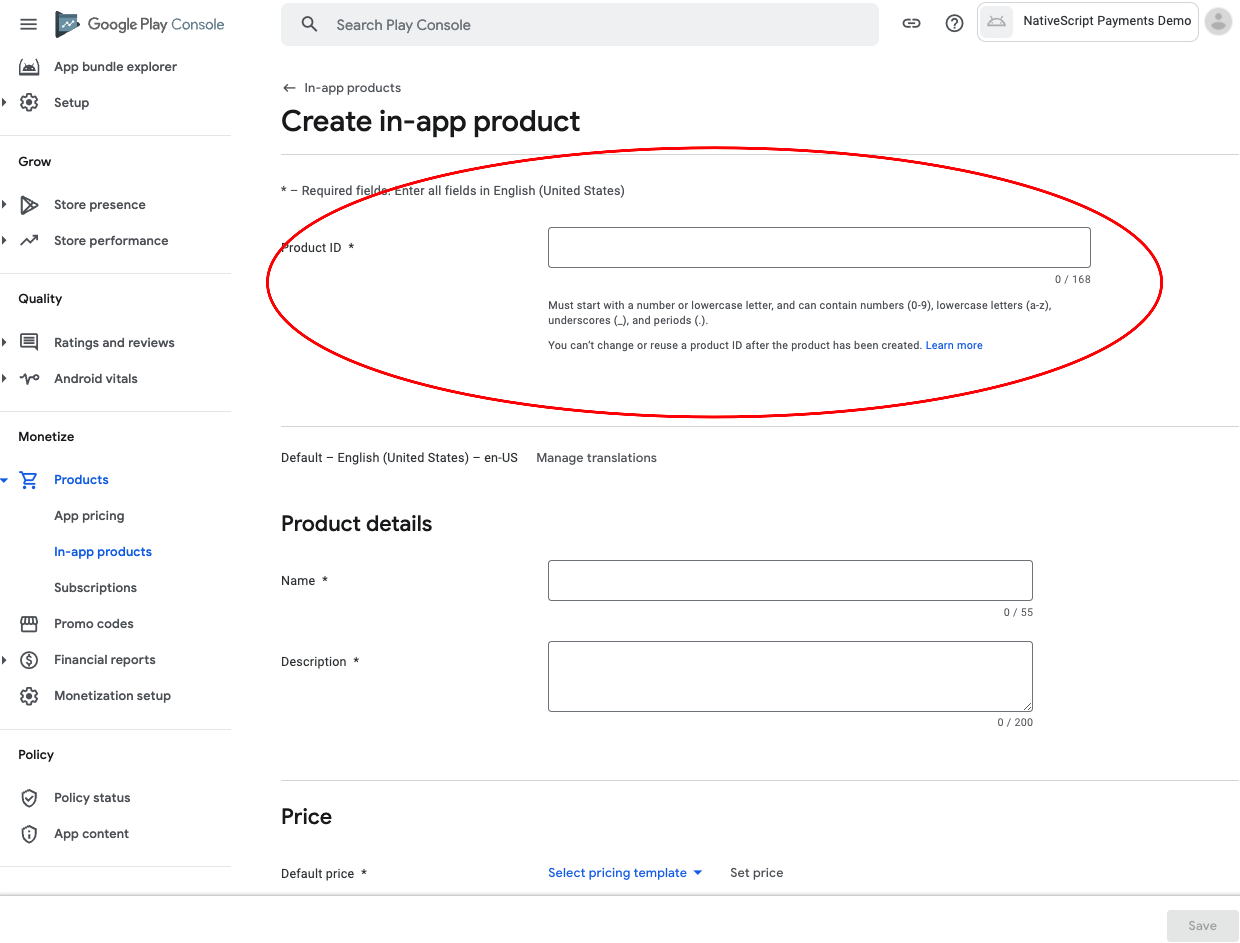
Important note about Google items
Google in app products will not work until Google has reviewed the app. They will appear in the list of products, but the API will error trying to purchase them. The title of the item when you call `fetchItems(['your.product.id']) should be suffixed with (in review) or something similar when returned at this point. You will not be able to finish the purchase flow until the review period has passed.

To test Android purchases completely, you should use a real device with Google Play setup and logged into an account. You can use test accounts for Google Play Billing for the work flow. This will allow you to test the app in development properly. For more info: https://support.google.com/googleplay/android-developer/answer/6062777
Note about the plugin usage:
This plugin uses a RxJS Observable to emit the events to handle the purchase flow. To avoid threading errors with the platform purchasing flow, you can use toMainThread() as a pipe on the Observable so that the purchase logic executes on the main thread. paymentEvents.pipe(toMainThread()).subscribe((event: PaymentEvent.Type) => {... The sample below should give a good starting point on how to use the Observable and setup the purchasing mechanism.
API
init()Sets up the internal system of the plugin.paymentEventsThe RxJS Observable to emit the events to handle the purchase flow.
The following methods get called in response to the events emitted by paymentEvents.
| Methods | Description |
|---|---|
fetchItems(itemIds: Array<string>) | Queries the store for the items requested. You should handle these items inside the PaymentEvent.Context.RETRIEVING_ITEMS event. |
buyItem(item: Item, options?: BuyItemOptions) | Starts the purchase flow on Android & iOS and emits PaymentEvent.Context.PROCESSING_ORDER with SUCCESS or FAILURE. If SUCCESS then you can call the last method to the finalizeOrder(payload). |
fetchSubscriptions(itemIds: Array<string>) | Queries the store for the subscriptions offered by the app. You should handle these subscriptions inside the PaymentEvent.Context.RETRIEVING_ITEMS event. |
startSubscription(item: Item, userData?: string) | Android only. Lanches the billing flow by presenting the Google Store subscription UI interface. |
restoreOrders(skuType?: string) | Returns the purchase made by the user for each product. You call this method to install purchases on additional devices or restore purchases for an application that the user deleted and reinstalled. |
canMakePayments() | Returns true or false indicating whether the billing service is available and is setup successfully. |
tearDown() | Closes the connection to the billing service to free up resources. |
Usage
The standard flow of method calls:
// This sets up the internal system of the plugin
init();
// Connect the RxJS Observable
paymentEvents.connect();
// Establish the Subscription with your event handling
paymentEvents.pipe(toMainThread()).subscribe((event: PaymentEvent.Type) => {...

// fetchItems(['item.id', ...]) will query the store for the items requested.
// Handle these items inside the PaymentEvent.Context.RETRIEVING_ITEMS event.
fetchItems(['item.id']);

// buyItem('item.id') will start the purchase flow on Android & iOS.
// Next handle the PaymentEvent.Context.PROCESSING_ORDER for SUCCESS or FAILURE.
// If SUCCESS then you can call the last method to the `finalizeOrder(payload)` method.
buyItem('item.id');

// finalizeOrder(payload) will complete the purchase flow.
// The payload argument here is provided in the PaymentEvent.Context.PROCESSING_ORDER - SUCCESS event (see below example for detailed usage).
finalizeOrder(payload)

// at this point you would process the order with your backend given the receiptToken from the purchase flow
Example
import {
  buyItem,
  BuyItemOptions,
  canMakePayments,
  fetchItems,
  finalizeOrder,
  init as initPayments,
  Item,
  PaymentEvent,
  paymentEvents,
  toMainThread
} from '@nativescript/payments'

export class SomeViewModel {
  private item: Item

  pageLoaded() {
    // Connect to the RxJS Observable
    paymentEvents.connect()

    // Subscribe to the RxJS Observable
    // You do not have to handle all of the events
    // RETRIEVING_ITEMS && PROCESSING_ORDER are the ones you'll want to use to handle the purchase flow
    const subscription = paymentEvents
      .pipe(toMainThread())
      .subscribe((event: PaymentEvent.Type) => {
        switch (event.context) {
          case PaymentEvent.Context.CONNECTING_STORE:
            console.log('Store Status: ' + event.result)
            if (event.result === PaymentEvent.Result.SUCCESS) {
              const canPay = canMakePayments()
              if (canPay) {
                // pass in your product IDs here that you want to query for
                fetchItems([
                  'io.nstudio.iapdemo.coinsfive',
                  'io.nstudio.iapdemo.coinsone',
                  'io.nstudio.iapdemo.coinsonethousand'
                ])
              }
            }
            break
          case PaymentEvent.Context.RETRIEVING_ITEMS:
            if (event.result === PaymentEvent.Result.SUCCESS) {
              // if you passed multiple items you will need to handle accordingly for your app
              this.item = event.payload
            }
            break
          case PaymentEvent.Context.PROCESSING_ORDER:
            if (event.result === PaymentEvent.Result.FAILURE) {
              console.log(`🛑 Payment Failure - ${event.payload.description} 🛑`)
              // handle the failure of the purchase
            } else if (event.result === PaymentEvent.Result.SUCCESS) {
              // handle the successful purchase
              console.log('🟢 Payment Success 🟢')
              console.log(`Order Date: ${event.payload.orderDate}`)
              console.log(`Receipt Token: ${event.payload.receiptToken}`)
              finalizeOrder(event.payload)
            }
            break
          case PaymentEvent.Context.FINALIZING_ORDER:
            if (event.result === PaymentEvent.Result.SUCCESS) {
              console.log('Order Finalized')
            }
            break
          case PaymentEvent.Context.RESTORING_ORDERS:
            console.log(event)
            break
          default:
            console.log(`Invalid EventContext: ${event}`)
            break
        }
      })

    // This initializes the internal payment system for the plugin
    initPayments()
  }

  buttonTap() {
    const opts: BuyItemOptions = {
      accountUserName: 'someuseraccount123@test.orgbizfree',
      android: {
        vrPurchase: true
      },
      ios: {
        quantity: 1,
        simulatesAskToBuyInSandbox: true
      }
    }

    // This method will kick off the platform purchase flow
    // We are passing the item and an optional object with some configuration
    buyItem(this.item, opts)
  }
}
License
Apache License Version 2.0